Magnificent Macrame

Category: Weekly Reflections

This is the category to apply to your weekly reflection posts from the course.

SD5 District Resource Center

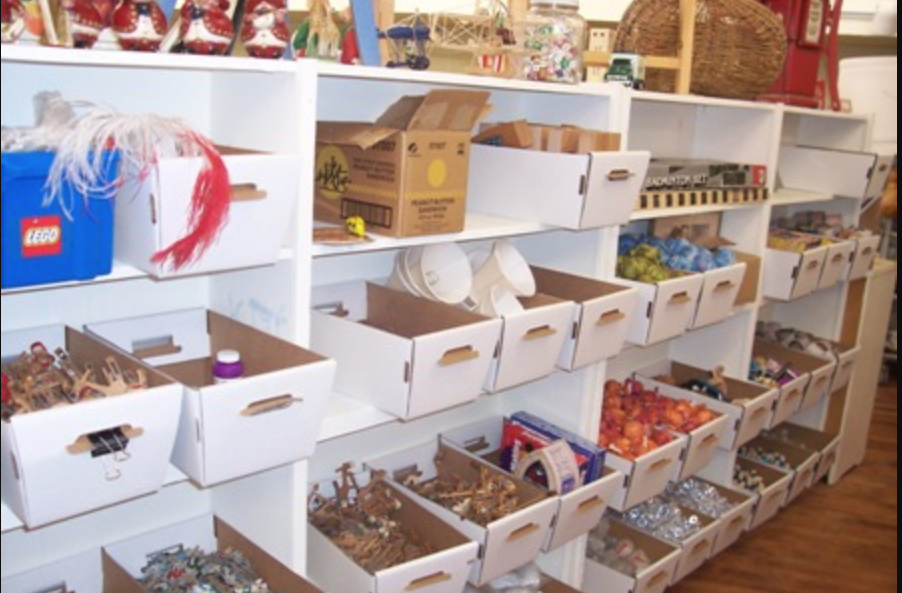
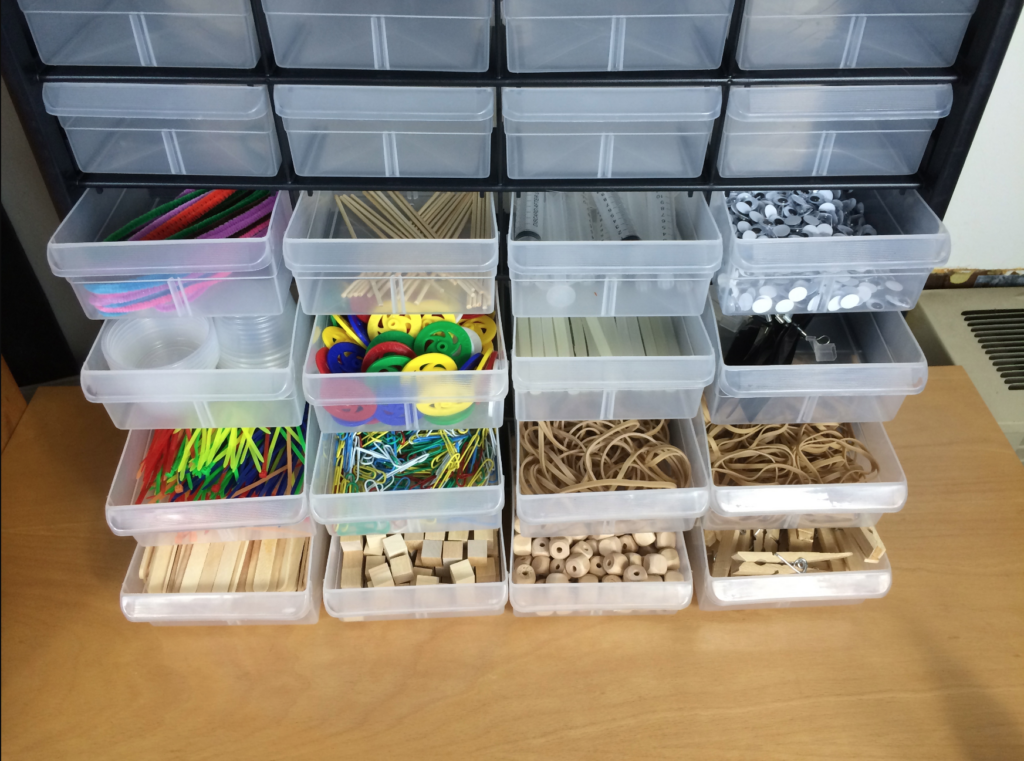
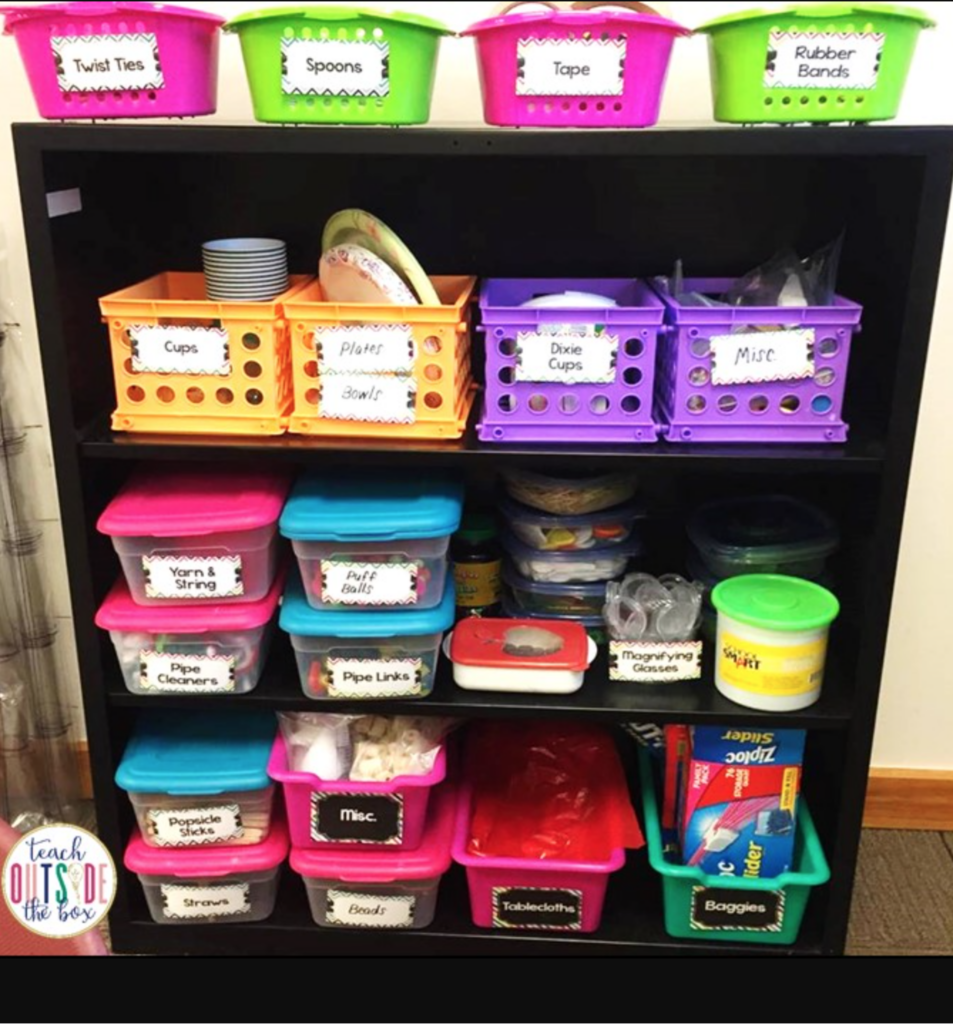
Think library, but instead of books, there are shelves filled with resources to help children learn from inside the classroom to outside. Oh, but there are also a ton of books!

SD5 Resource centre

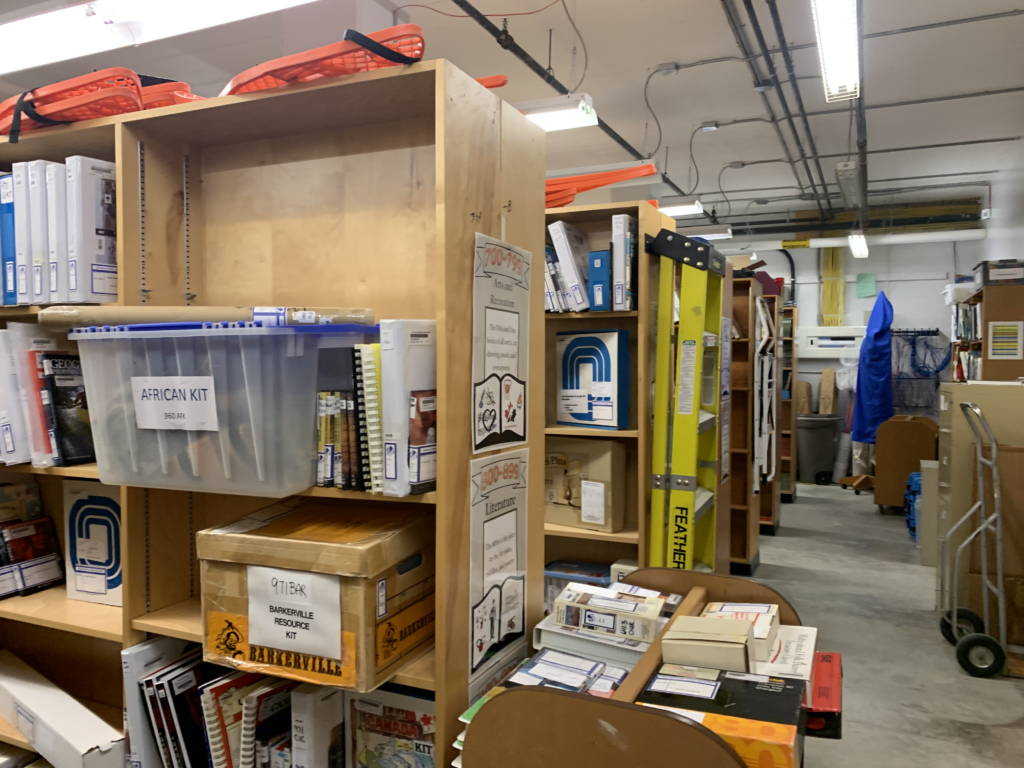
Open Monday to Friday, 7:30-3:30, the staff who run the resource centre are there to help you find what you need. Hidden in the basement of Kootenay Orchard School is the mecca of all learning resource centres.

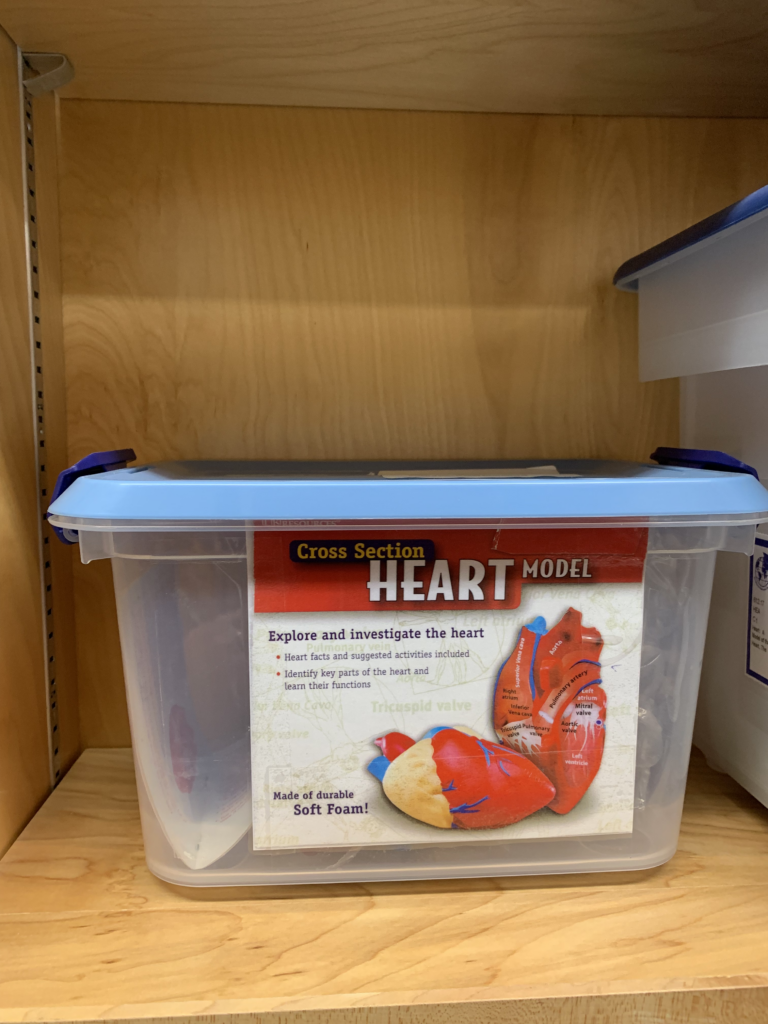
From exploring the human heart….
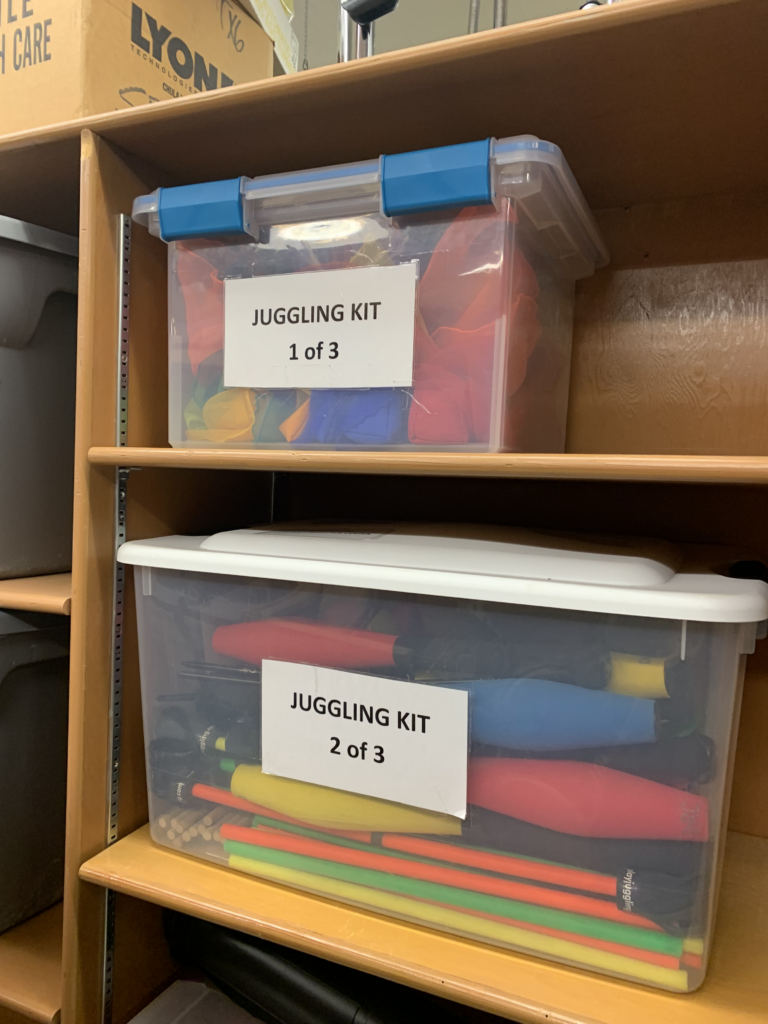
to juggling….

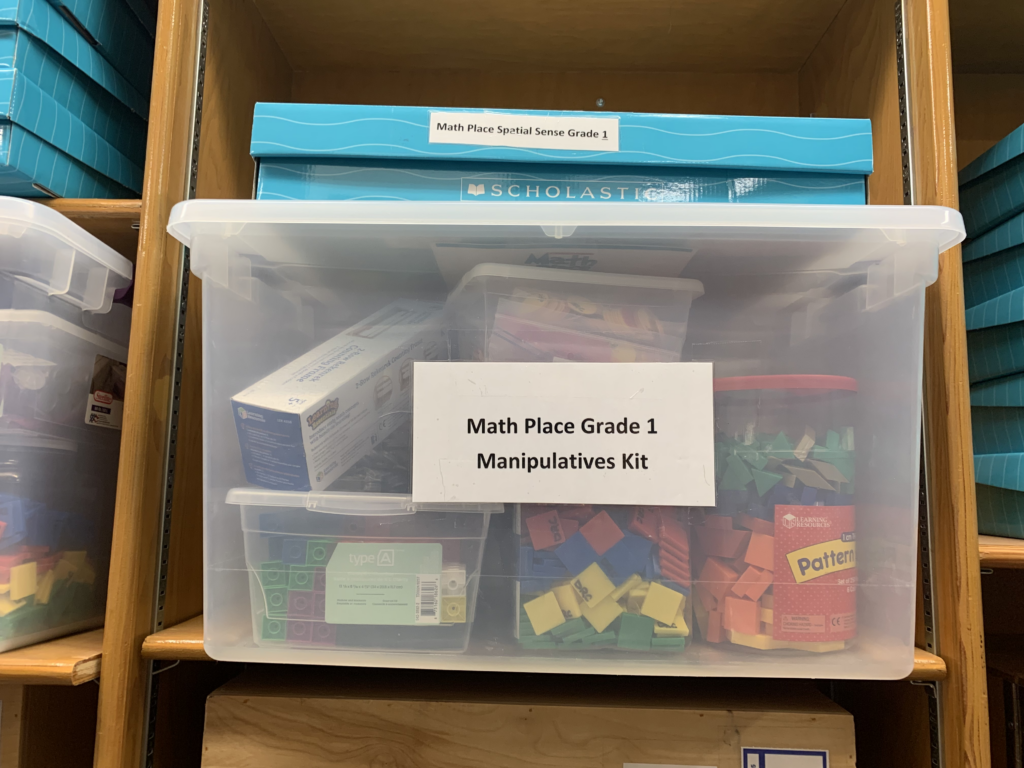
math manipulatives..
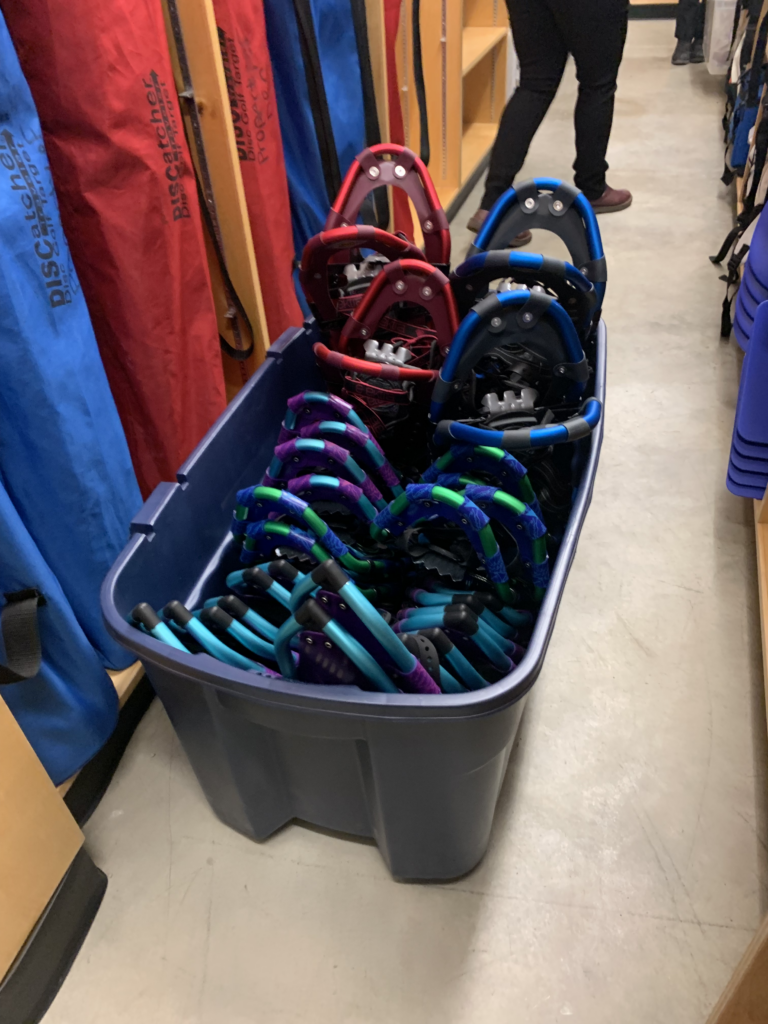
to snowshoeing..

The district resource centre is there to provide teachers and parents with endless amount of fun and educational resources.

The resource centre also offers online resources like Destiney Library. https://sd5.follettdestiny.ca/ Here, teachers, parents and even students can find a book that is available at any library in SD5.

For many many more resource opportunities, please visit the link below or email the staff at the resource centre.

Email: resource.center@sd5.bc.ca

https://www.sd5.bc.ca/resources/drc/Pages/default.aspx#/=

Design Lab

I unfortunately did not get to join in at the design lab to explore the amazing features it holds. I have however have had the opportunity to work with Ryan in a 5/6 coding class before when I was an EA.

I remember when the kids found out Ryan was coming in to teach they were all very excited. When he was teaching the kids they were all eagerly paying attention and couldn’t wait to get their hands on the technology we were using that day.

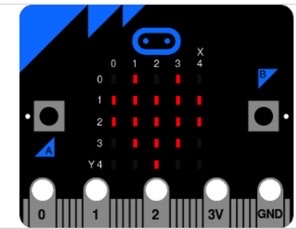
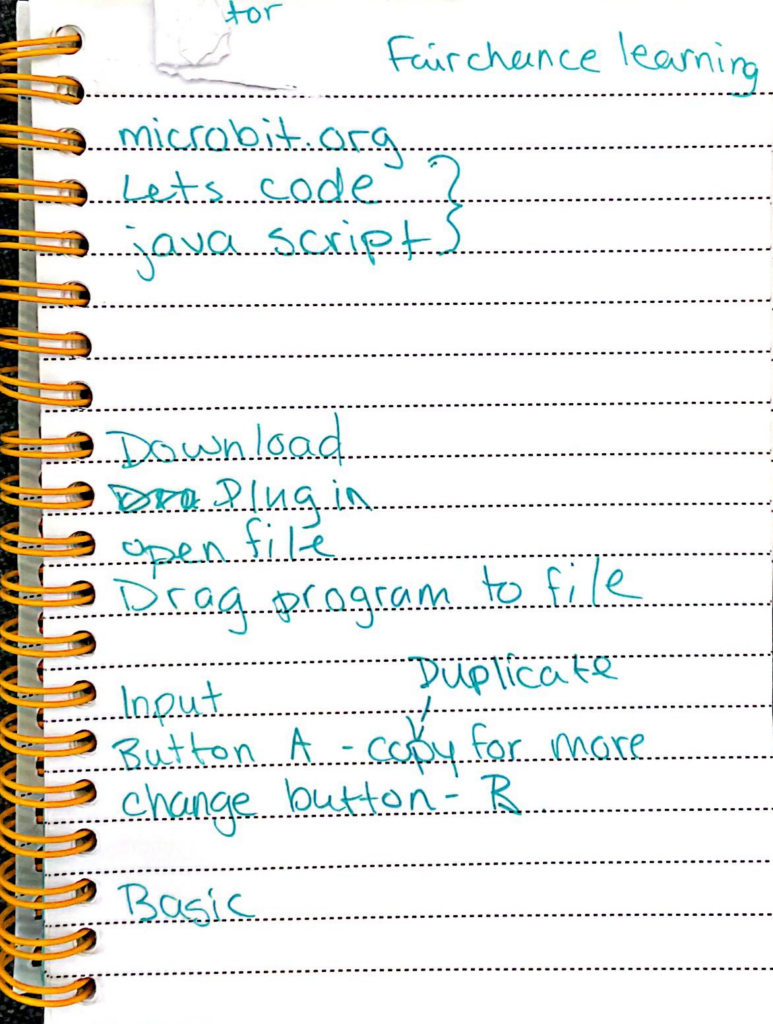
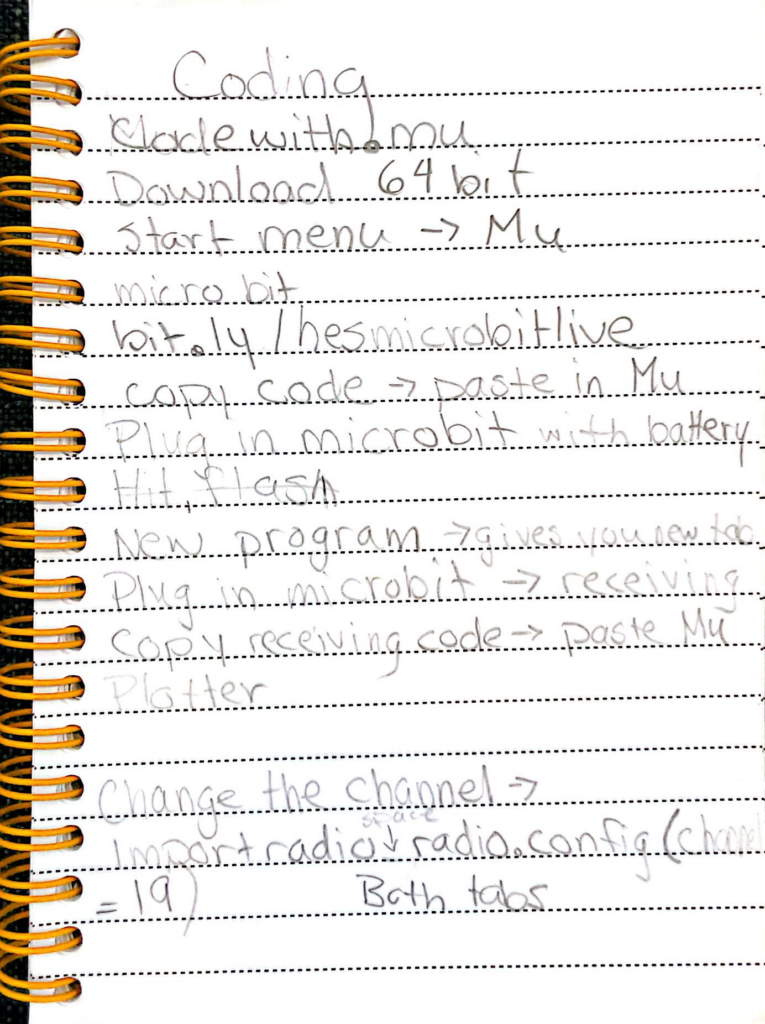
Each kid worked with one of these Micro:bits https://microbit.org/ and a laptop and together learned how to code pictures, like the heart, onto their Micro:bit.

When it came time to explore the technology, the kids were hooked! They spent the entire time programming their codes on the laptops, and then transferring the data on to their Micro.bits.

https://codewith.mu/en/tutorials/1.2/

“Mu is a Python code editor for beginner programmers based on extensive feedback given by teachers and learners”

codewith.mu

I had a great time watching the kids play with these thingamajigs! Since I had never even heard of this technology before, I had to take notes along the way, that way when a student needed help, I could try and help by reviewing my notes. Something that I have learned is very important to do while Ryan is explaining the new piece of technology.

For more information on this awesome, fun little coding activity please visit https://codewith.mu/en/

https://web.seesaw.me/

In this weeks class, we dove deep into the world of Seesaw.

What is Seesaw?

Seesaw is a digital portfolio for teachers and students to share what is going on in the class room digitally to their families. It is also an online platform that teachers can use to create and store activities.

How Can it be Accessed

  • Desktops
  • Laptops
  • Tablets
  • Phones

The Benefits of Seesaw

Students: -through reflective process of uploading, students gain responsibility of their work. -helps gain confidence -communication tool with teachers and family -constant support through feed back and comments.

Families: -constant and immediate updates on their kid. -allows opportunity for encouragement and engagement. -helps develop a support network at home.

Teachers: -formal and informal assessments of students learning. -concrete means for assessment. -allows for teachers to reflect on their own work.

Information provided above was taken from https://docs.google.com/presentation/d/17wnPJLLT5SRiscTwJJr4fF3-qtFunWSnIxWvVkduZTg/edit#slide=id.g19221b54d24_0_0

Some schools districts won’t allow some digital portfolio platforms because the data is stored in the United States. Luckily for us, Seesaw’s data is stored in Canada, so it is approved for the schools in our district (SD5).

If you are wanting to go and explore Seesaw for yourself, please click the link below and request a demo class to begin exploring.

https://web.seesaw.me/

Made with Canva

This week in school we learned about gamification in the classroom with technology. As a kid, we had a few programs that we could play and learn from in school, but nothing like the students have today. When we did have online games available, they were very limited and not as exciting as they are today. It amazes me how the teacher can be so involved in the background, prompting what types of questions are asked or not asked, watching students progress and seeing who is logging in and advancing, and monitoring where students may be struggling, giving the teacher ideas on what needs to be taught.

I know people today have mixed feelings about students playing games to learn in school. Scientist have done a lot of research around this topic, and there are many benefits from students learning by gaming. Please watch this youtube video below describing the the board brain and how it reacts when in this state. Judy Willis speaks about how you need to make your classroom more exciting and engaging to get the students brain in a more functioning state. What better way to excite and engage kids than playing games!

When I become a teacher I will absolutely use technology in the classroom and allow students to learn through gaming. In today’s world, technology is all around us and I think it is important that myself and my students follow along and learn how it all works. By gaming, students will be able to explore technology and learn core curriculum information. Students can finally have fun while learning math, and as a student back in my days I was math could have been fun.

As an EA, and in class this week, I was introduced to many online gaming sites that students enjoyed learning from. Here is a list of links to some of the online sites that I have learned about.

I really enjoyed learning about gaming this week and wanted to continue my gaming outside of the class time 🙂

Made with Canva

This week in class we learned the basics of computer science and learned how to code. I was a bit skeptical at first because I didn’t learn coding in school, but I found my self having a lot of fun and not wanting to stop when the hour was up.

We used https://code.org/ to explore the world of coding. On this website they have what is called the “Hour of Code” which I played with and learned how to code within an hour.

Our teacher had previously made our accounts for us, so as a teacher, you will need to have that prepared ahead of time. Once in, I chose to create a dance party because that seemed exciting to me and I wasn’t wrong.

This website had the best step by step instructions and was very easy to use. Before coding, I was able to watch a short tutorial on how exactly I needed to code my characters. After each completed round of coding, a new tutorial was introduced and a new way to code was taught. I found the whole experience fun and easy to do.

I think the “Hour of Code” would be a great site to introduce to students in a 3/4 class. By this time students have worked a bit with laptops and iPads and have a good sense how to navigate on the screen. There are small bits of reading that needs to be done, so it is important that students are at a grade level that is appropriate for the site. When using this site, students “identify the skills required for a task and develop those skills as needed” https://curriculum.gov.bc.ca/curriculum/adst/5/core

Please enjoy the dance party that I created. I only went to the 33rd measure because it was taking me a long time to create, but I love what I created and put a lot of effort into what I made.

https://studio.code.org/projects/dance/iClrQ4wbSmKStvtXBSUUsAO62N2xcv6V9HJmqe8jWOM

We watched this video in class also that day and I really enjoyed it. I like how they were able to get such huge/famous computer scientists, and how they all started like regular people who practiced and became very good at coding. At the very end of the video theres a quote that says “1 million of the best jobs in America will go unfulfilled… because only 1 in 4 schools teach computer science.” Even though this video is 9 years old, I think it still holds truth that not enough kids get exposed enough to computer sciences and I think its important that even though I find it difficult, there are other people out there that can come in and help teach the children of our future coding.

Created with Canva

The Learning Continues

Last weeks blog began the journey in stop motion and this weeks blog will dive deeper into the Zing Studio app as myself and a classmate were shown a new creative trick to add to a stop motion video!

When Kim and I were working with three grade 3 students they showed us how to add numerous sound effects to our videos.

Zing Studio

To show you how to add special effect sounds, I created another short stop motion video for you. If you click on the music note with the plus sign it will take you to the many sounds the app provides.

Once in you will see the different categories the app has. For my video I chose Animal and Transport. For the grade 3 students they chose Scifi and Nature.

Zing Studio
Zing Studio

Once you’ve chosen a category, you can preview the sound before choosing it. To do this, you will want to click on the little speaker icon on the left of the sound name. Once you have decided on the sound, click on it and it will be added to your video clip.

Zing Studio

If you need to change your sound volume level or sound, just click on the clip your sound is in and the menu should pop up like I have shown here. From there you can click on Audio and adjust away.

I hope you enjoy the video the grade 3 students made and pay close attention to the sounds they added.

Made with Zing Studio

Here is my short video I made also 🙂

Made with Zing Studio

This week our class learned how to make stop animation videos. At first it looked and sounded a little daunting because there needed to be precise movements and a lot of pictures. A few class mates and I got together and planned a short video using the app Zing Studio. The app was very quick to download and very user friendly.

Before starting our video, we had to decide what we wanted to create. Using the planning sheet posted below, we began mapping out what our video would look like. After filling out the boxes, we then had to decide what job each person would take on. It was important to have a director, a camera person, and “actors” to move the props around. Once everyone had their roles we began filming.

EDCI 336 Handouts

To begin, we clicked on the icon “Create Movie”

Zing Studio App

Next we secured the phone with the camera pointing at our set and pressed the camera button.

Zing Studio App

From there we moved our characters around millimeter by millimeter, pressing the camera button each time, until our story was complete.

Some really cool features this app provides are: it shows you were your character was in the previous photo so you can see how for to move it and also, you can easily delete frames if something wasn’t perfect.

After we finished taping the video, it was automatically saved to my iPhone photos and I was able to edit the video a bit more. 

In the end, stop motion was actually pretty easy to make and I had a lot of fun doing so. I hope you enjoy watching our video that we made, and I hope you take some time to have fun and make a stop motion video for yourself 🙂

Created by Cassidy, Chelsea, Emily, Lauren and Morgan

Photo from: Brooke Brown – Teach Outside the Box

What is a Maker Space you may be wondering.

A Maker Space is a place for kids to go and be creative! They provide the resources and environment kids need to explore their imaginative and creative side.

What does a Maker Space Need?

Photo by: By LanceMakes in LivingKids

Maker Spaces can be used for any subject, so it is important to keep your space well stocked. The more supplies you have, the more ideas the children can have with them. A Maker Space doesn’t need to be huge, but make sure they are nicely organized for easy access.

Ask other teachers and staff in the building to bring in old recyclables to be used as crafts. Lego walls are a great addition. Green screens allow children to create videos with special effects. Room to display the creativity.

It is important to make your Maker Space bright and fun! The more creative your space looks, the more creative the kids can be!

Please watch the video below if you would like more information and ideas on Maker Spaces.

https://www.facebook.com/watch/?v=14880911879196

Epic!

This week I explored Epic! which is a great online resource to help children explore reading. I do not know exactly how many books there are because it looks like there is a never ending supply of stories. Starting with the cool characters students can use as their profile pictures, the students are instantly excited to try this website. Teachers are able to track student progress and keep kids accountable for their reading. Parents can also sign up (there is also an upgraded paid version) for kids to be able to read at home. There are books for students to read, books that are follow along and read to the students, and also audio book to just listen to. Books are divided up into reading levels and categories making it easy to navigate and find the perfect book to read. Teachers can set parameters on what books the students can view, making sure they are appropriate for that grade level. Overall I really liked this resource. I have not yet signed up for my own account yet, so I do not know all the features that are provided to the teacher. As you can see in my video below, I was exploring epic! as a student not a teacher. I would like to bring this resource with me when I am teaching a try it on my students. It might not be for everyone because I know some people enjoy reading a book more than looking at the screen, but I like that it gives the students another option to reading than holding a book and most kids today love technology.

Video made from Screencastify, IMovie, epic!. Song by Echosmith “Bright”.

https://www.getepic.com/options?utm_source=google&utm_medium=cpc&utm_campaign=google_tier1_ca_brand_search_oct22&campaignid=18394366447&adgroupid=141118523426&device=c&keyword=epic%20books&creative=623159478942&gclid=Cj0KCQjwhY-aBhCUARIsALNIC06J0mx6FIjZ5JLDlbTQcDNWRWCEmXdJPO9j_q37M7_jIN2JOQ7HWOwaAuDJEALw_wcB

TEDxWestVancouverED Jesse Miller: Revaluate, Rethink, Release.  

copied from https://www.youtube.com/watch?v=FiGclrVXAws

Jesse Miller’s TED Talk focuses on the power of the digital voice and how it can hinder a child’s life in their future. During the video, Jesse made a powerful statement saying “parents pacify their children with technology so they can get some quiet time” (3:40). This statement was followed by him discussing how parents are forgetting to teach them about technology and using it as the pacifier. It is our jobs as educators, and also parents, to help teach our children that there are more scary things on the internet besides a predator on the other side. Children need to learn about the power of their posts and how it could negatively impact their life later on. Kids do not always think about future consequences, so it is important that help them safely navigate through todays technology. I know when I was a teenager posting to social media, not once did I ever think about how these photos could impact my life later. As a future educator, I am going to work on finding a way to help my students learn how to balance their everyday life with their technology.

Jamboard

This week I chose to explore Jamboard. I enjoyed in my classroom how all the students were able to interact with it and it was very user friendly. I enjoy how people can answer anonymously. I think it is a great icebreaker to start a classroom. When I went to create my first board I found it very simple and not time consuming. I created a board that will have people deciding which thing they like better. If you would like to try the board I created, please click the link below.

https://jamboard.google.com/d/1vUBeenaVRXdJqSlnjfMu5HIamnzbWFviZxv43r9a9mU/edit?usp=sharing